This guide is for client users, such as staff at Meadowbrook Garden Supplies. They sign in at the same Jonta web address as your team, but see a simpler portal. In the portal they can raise and follow tickets, talk to the support team, read release notes and read wiki pages shared with them. Clients never see internal notes, time, extra boards or the development board.
The examples below use a client user called Steve Smith (contact@meadowbrook-garden.com).
Get access
- Your support provider invites you by email.
- Open the link in the invitation and choose your own password. Nobody else ever sees it.
- Sign in with your email address and password. The sign-in page is the same one shown in Getting started in the main portal guide.
Find your way around
The portal has four items in the left-hand bar:
| Item | What it does |
|---|---|
| Support | Your home page. It shows the service status and the tickets your organisation has raised. |
| Wiki | Knowledge base spaces your provider has shared with you. |
| Releases | Notes on what has been released for your projects. |
| New ticket (+) | Opens the Raise a ticket form from anywhere. |
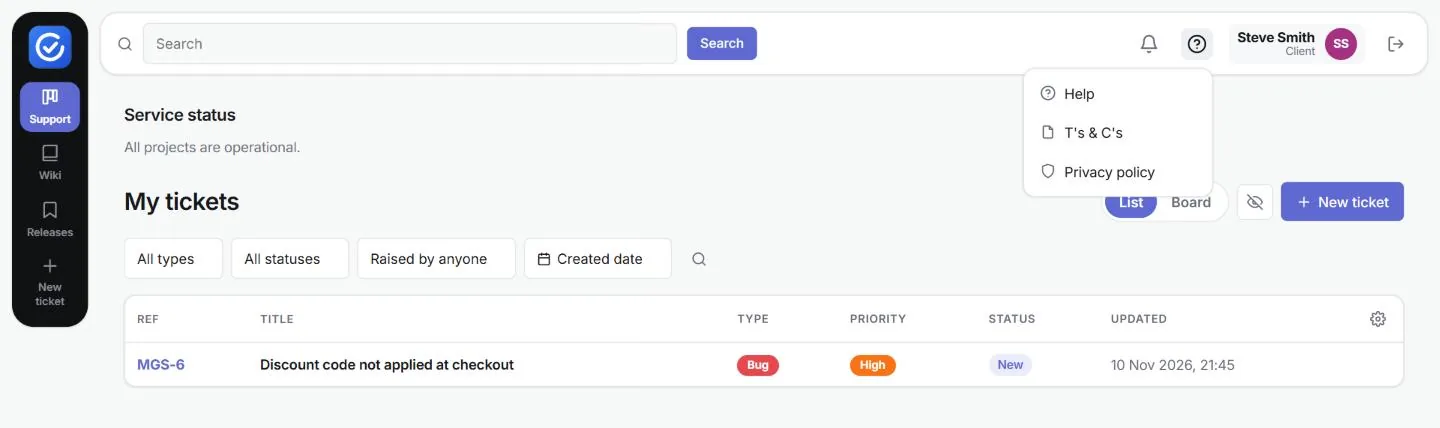
The top bar holds the search box, notifications (bell), the Help (?) menu, your name (which opens your profile) and Sign out (arrow icon).
The Help (?) menu has three links:
- Help: Jonta’s online help and documentation.
- T’s & C’s: the terms and conditions.
- Privacy policy.
At the top of the home page, Service status shows whether your projects are running normally, for example All projects are operational. When your provider publishes an incident, it is shown here.
Raise a ticket
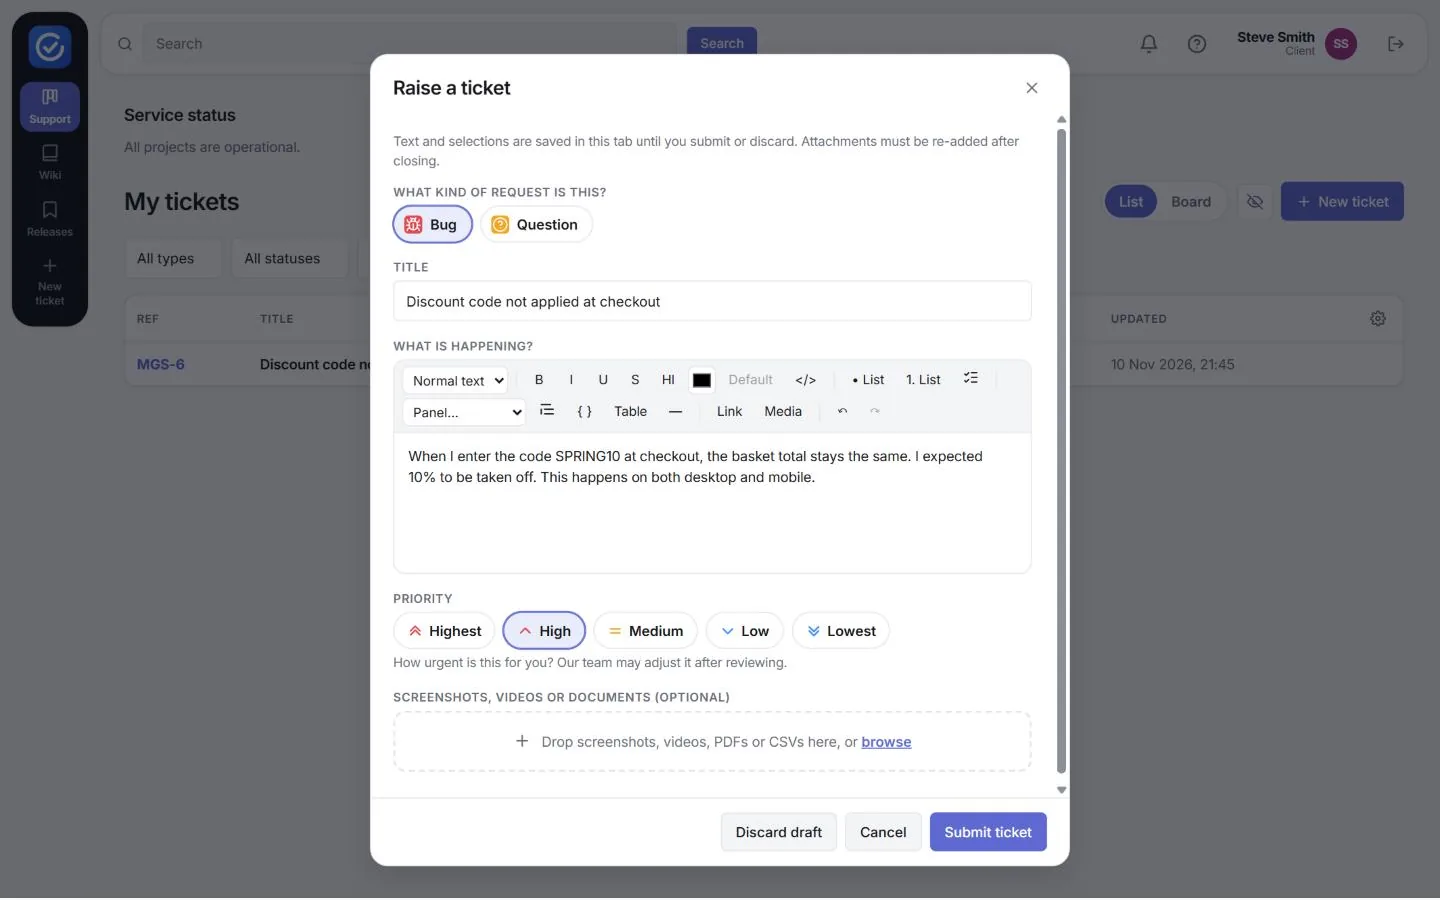
- Click + New ticket.
- Under What kind of request is this?, choose Bug (something is not working) or Question.
- Enter a short Title that summarises the problem in a few words.
- Under What is happening?, describe what you expected and what happened instead. You can use the formatting toolbar, including lists, panels, tables, links and images.
- Choose a Priority from Highest to Lowest to show how urgent the issue is for you. The support team may adjust it after reviewing.
- Optionally, drop screenshots, videos, PDFs or CSVs into Screenshots, videos or documents, or click browse.
- Click Submit ticket.
A confirmation appears, for example Ticket MGS-6 created. Our team has been notified., and the ticket is added to My tickets with the status New.
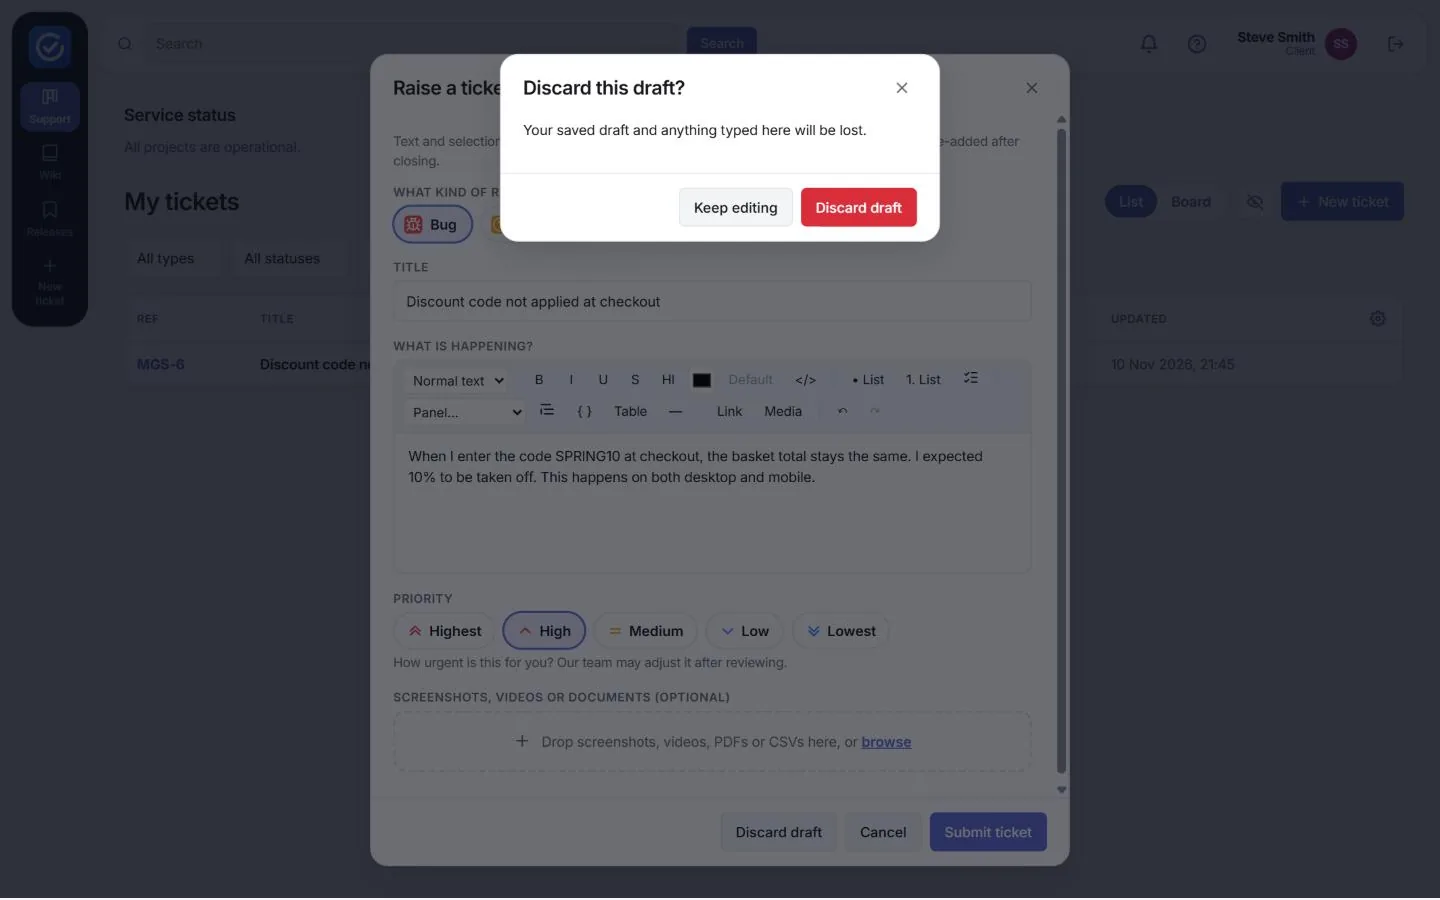
Drafts: text and selections are saved in that browser tab until you submit or discard them. Attachments must be added again if you close the form. To throw a draft away, click Discard draft, then confirm with Discard draft in the Discard this draft? box, or click Keep editing to go back.
Create a ticket by email
You can also raise a ticket by sending an email to your provider’s support address. Ask your provider for the address to use.
- Write a fresh email. It must not be a reply to anything.
- Send it to your support address, for example documentation@jonta.cloud.
- Write the subject in this form:
[PROJECT] [URGENCY] Short description of the problem. The subject (without the tags) becomes the ticket’s title.- [PROJECT] is optional: one of your project keys, for example [MGS].
- [URGENCY] is optional: LOWEST, LOW, MEDIUM, HIGH or HIGHEST.
- Leave either tag out and the account’s default is used.
- Write the body as the description of the problem. Attachments and inline images are included in the ticket.
- Send the email. A new ticket opens with the status Open.
Example
| Part | What to write |
|---|---|
| To | documentation@jonta.cloud |
| Subject | [MGS] [HIGH] Checkout page is throwing an error |
| Body | Customers can’t complete checkout — the page shows a 500 error after entering card details. Started around 2pm today. |
| Result | A new MGS ticket titled Checkout page is throwing an error, with priority High and the body as its description. |
Follow your tickets
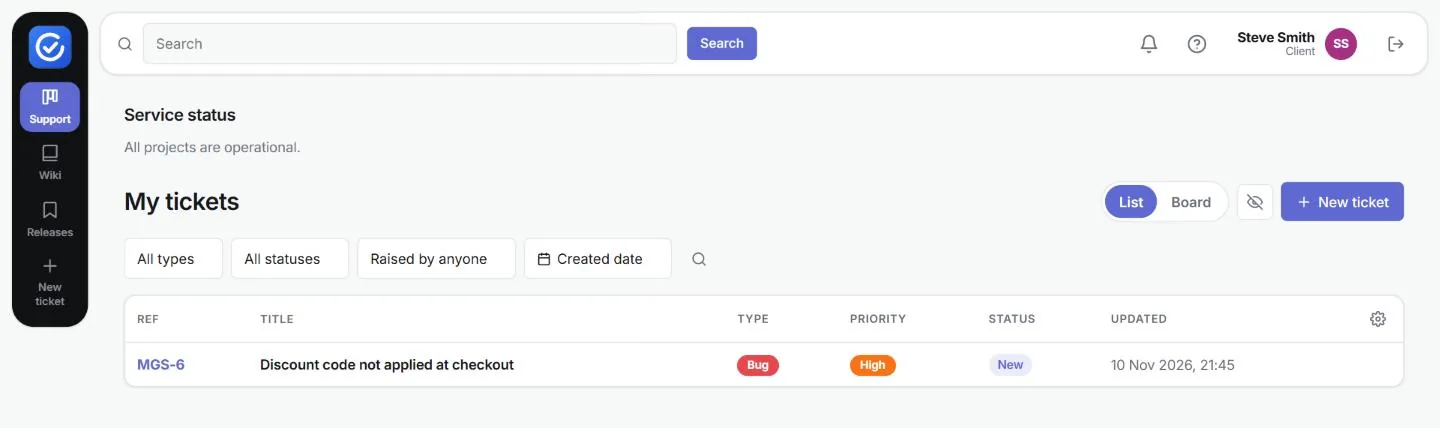
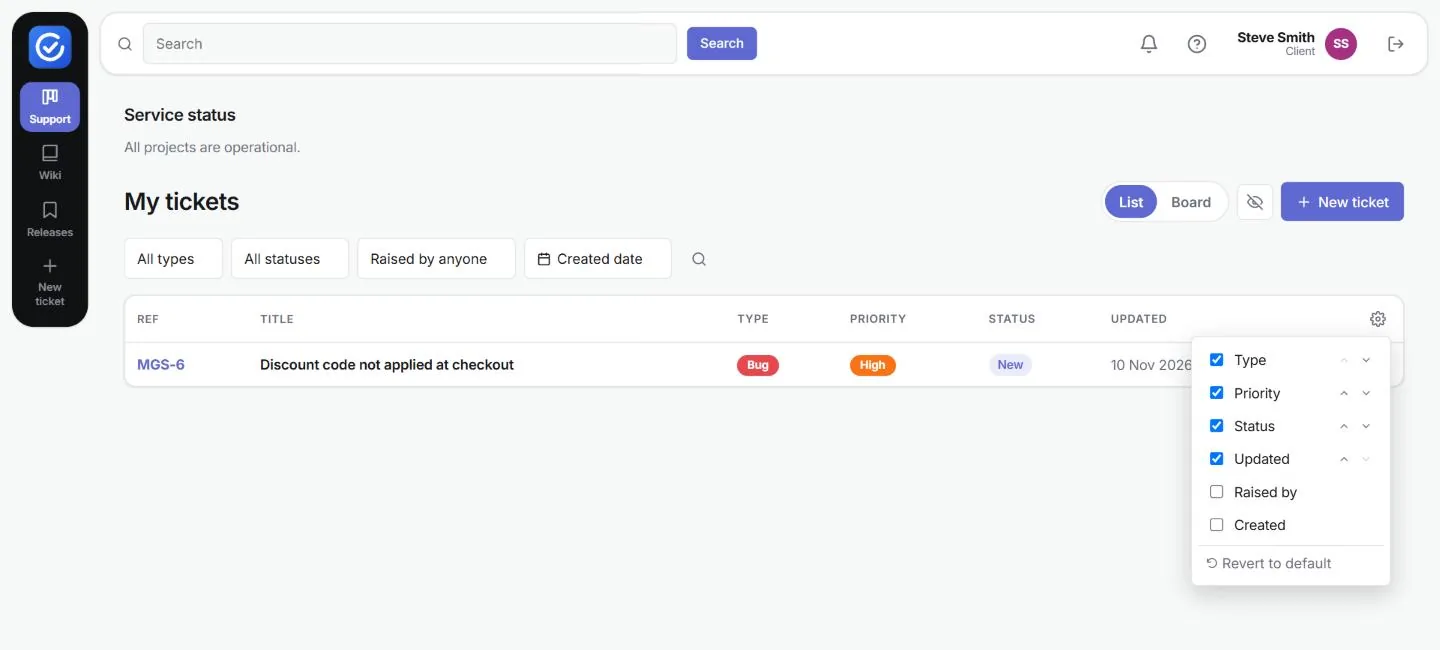
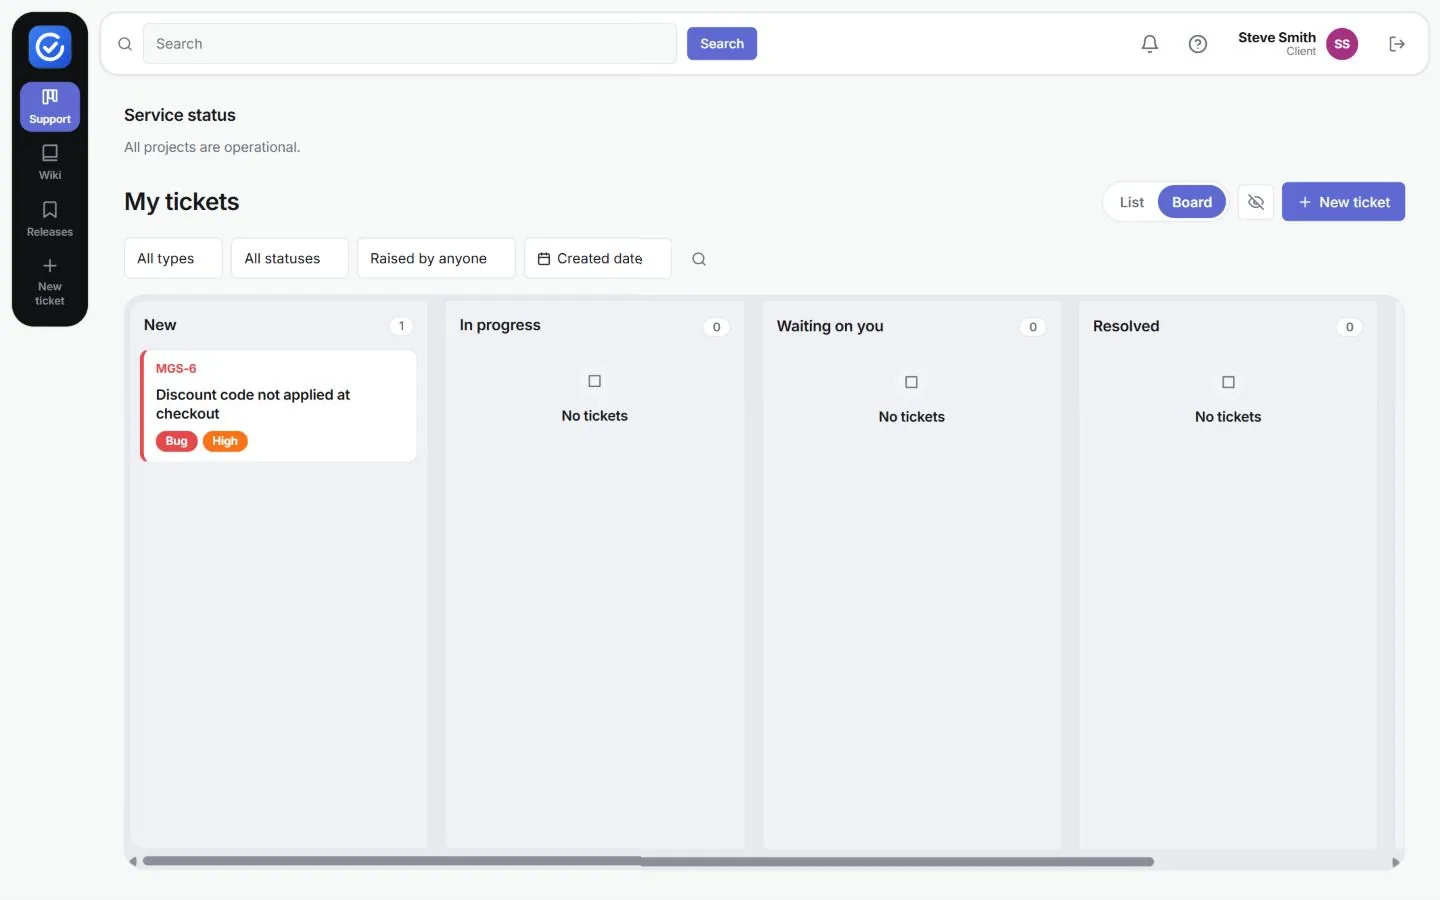
My tickets lists every ticket raised by your organisation, with its reference, title, type, priority, status and the date it was last updated.
- All types: show only bugs or only questions.
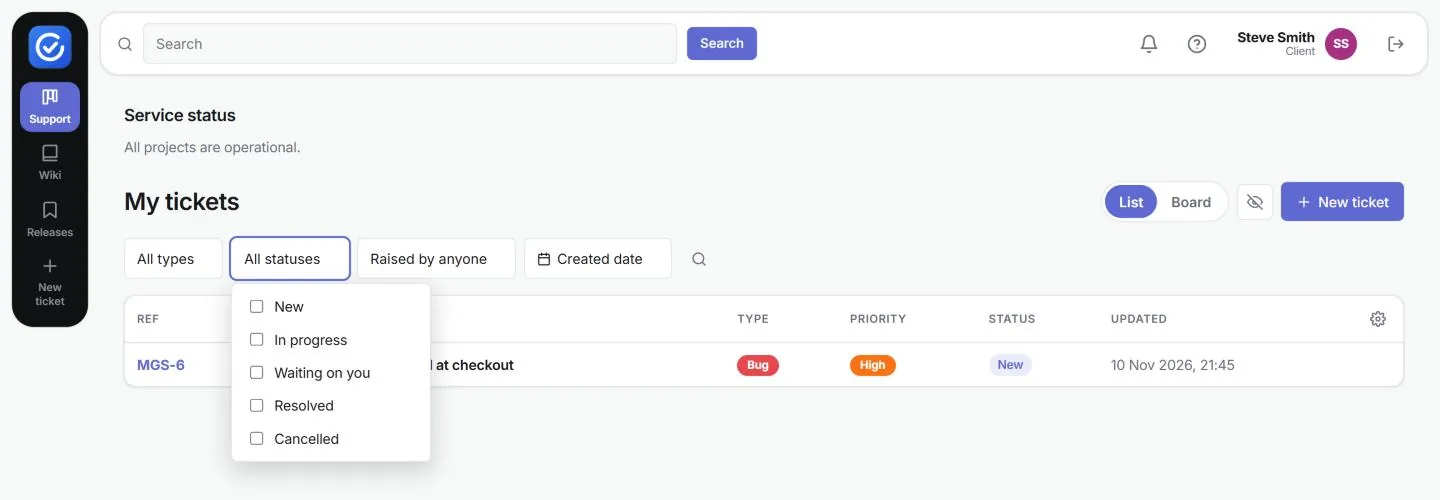
- All statuses: tick New, In progress, Waiting on you, Resolved or Cancelled. Waiting on you means the team needs something from you.
- Raised by anyone: tick a colleague’s name to see only the tickets they raised.
- Created date: limit the list to a date range.
- Magnifying glass: search within the list.
- Cog icon (Choose columns): show or hide the Type, Priority, Status, Updated, Raised by and Created columns, change their order, or click Revert to default.
- List / Board: switch to a read-only board that groups your tickets by status.
- Watch this project (the eye icon): follow the project, for use with the Watched projects only email setting in your profile.
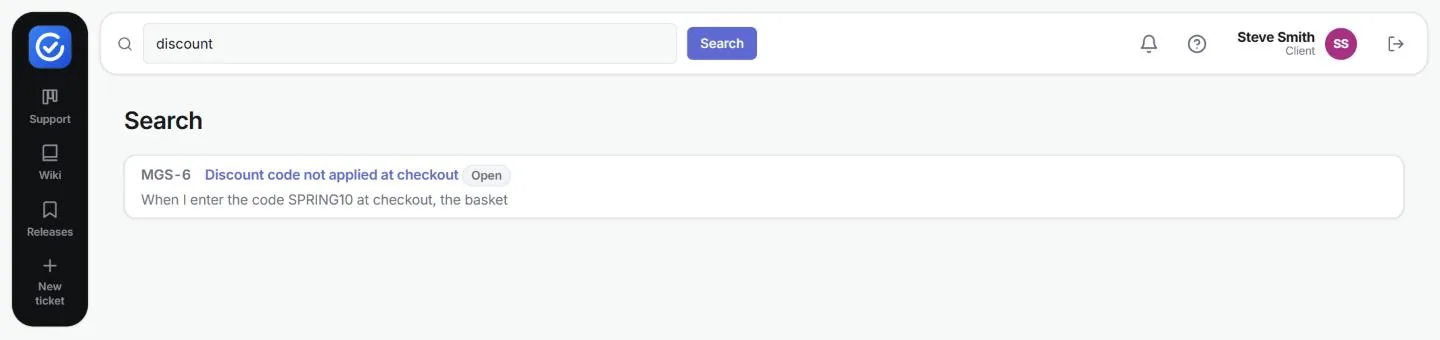
To find a ticket quickly, type words from its title, or its number (for example MGS-6), into the search box at the top and press Search.
View a ticket and talk to the team
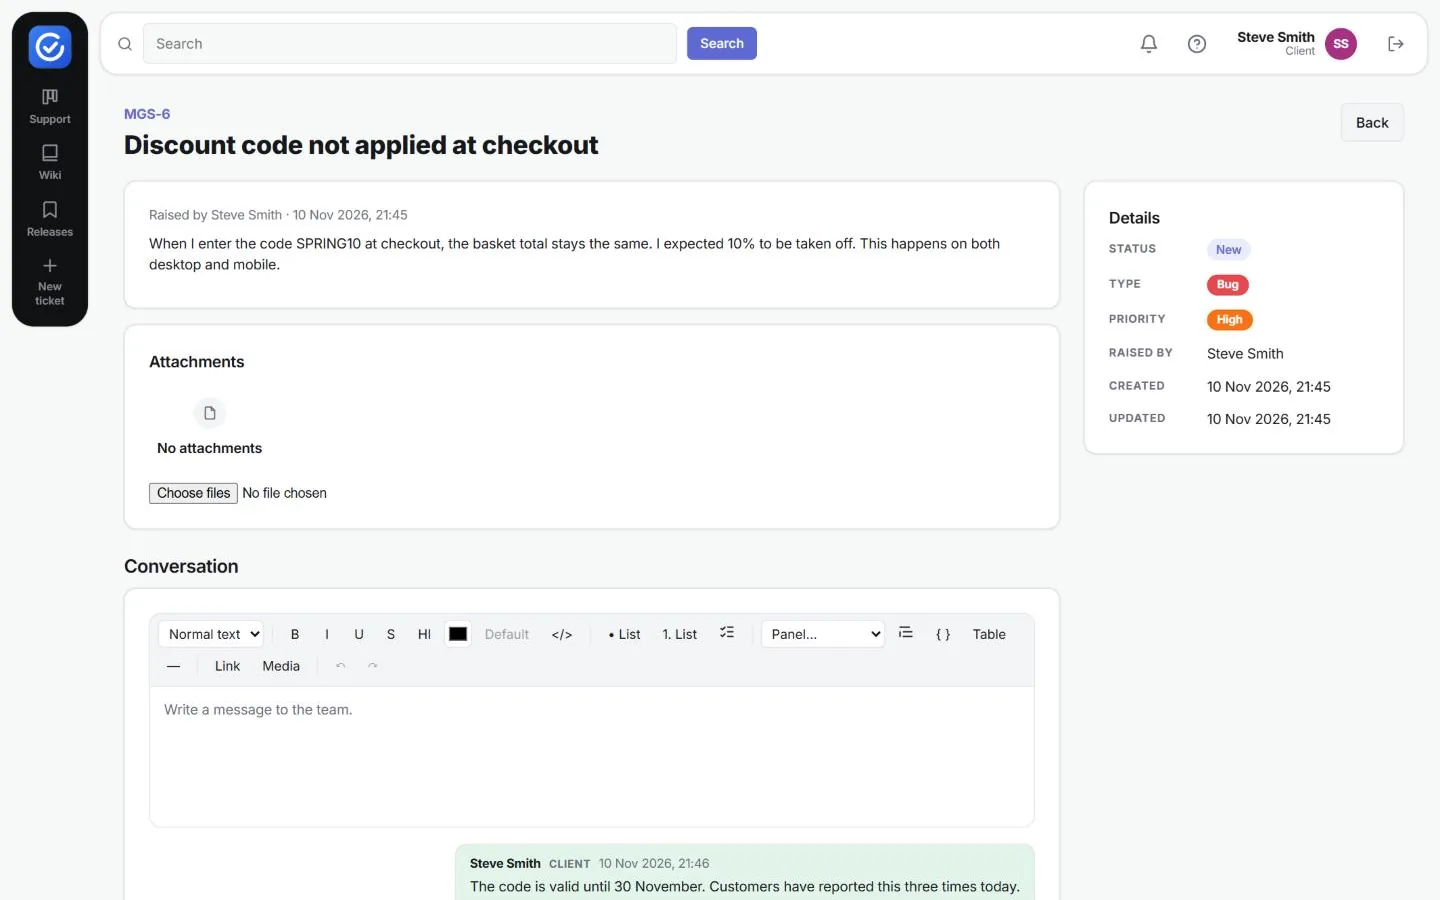
Click a ticket’s reference to open it. The page shows:
- the title, who raised it and when, and the description
- Attachments: click Choose files to add more files at any time
- Conversation: your messages and the support team’s replies
- Details: status, type, priority, who raised it, and the created and updated dates
- Back: returns to My tickets
To add information or answer a question from the team:
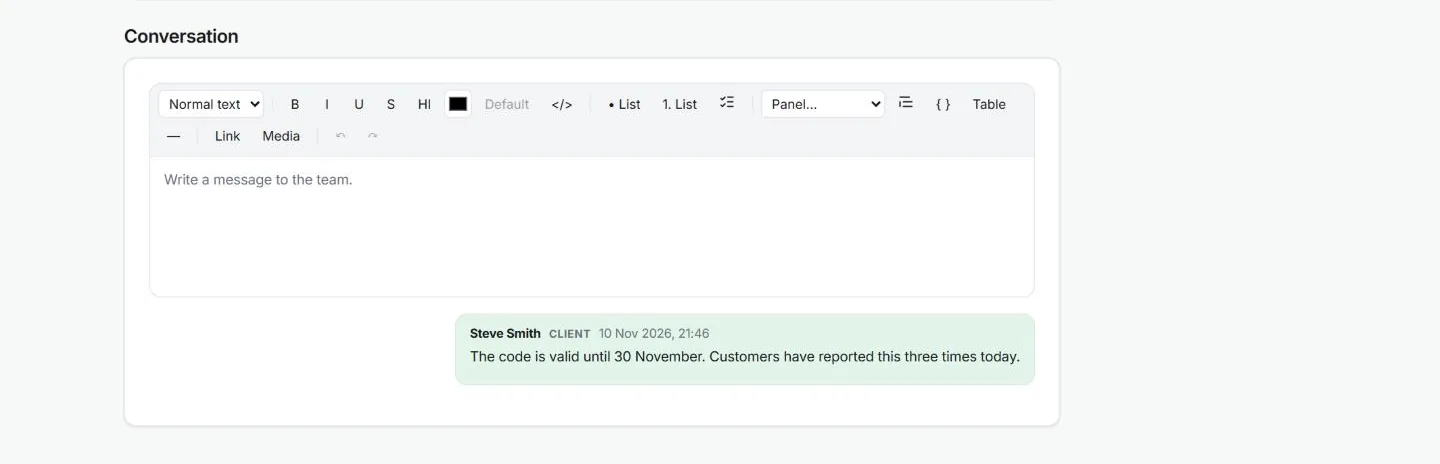
- Scroll to Conversation and type in the box (Write a message to the team.).
- Click Send to the team, or press Ctrl+Enter. Your message appears in the conversation, labelled Client, and the team is notified.
Replies from the team appear in the same conversation, and you are emailed when they reply (see Your profile).
Read the wiki
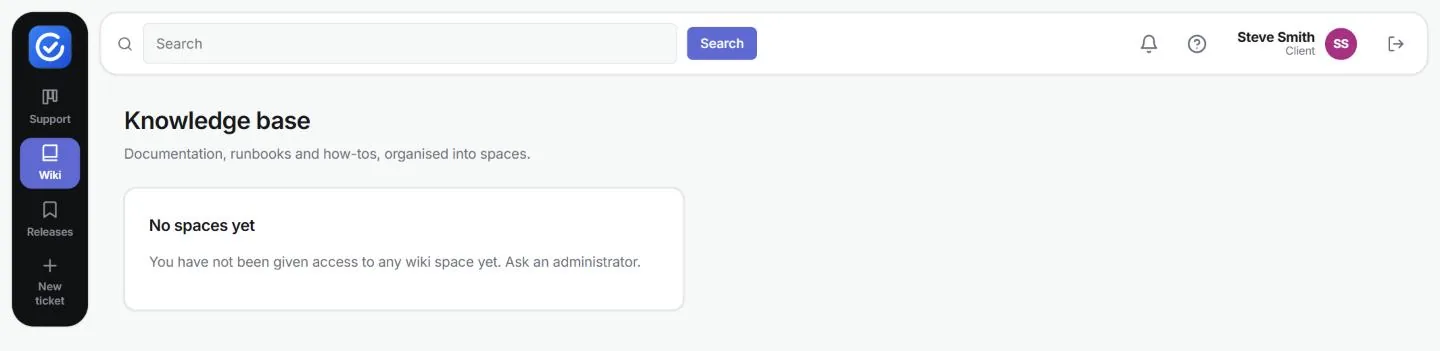
Click Wiki to see the knowledge base spaces your provider has shared with you, and the pages in them that are marked for clients. Until a space is shared, the page says You have not been given access to any wiki space yet. Ask an administrator.
Read release notes
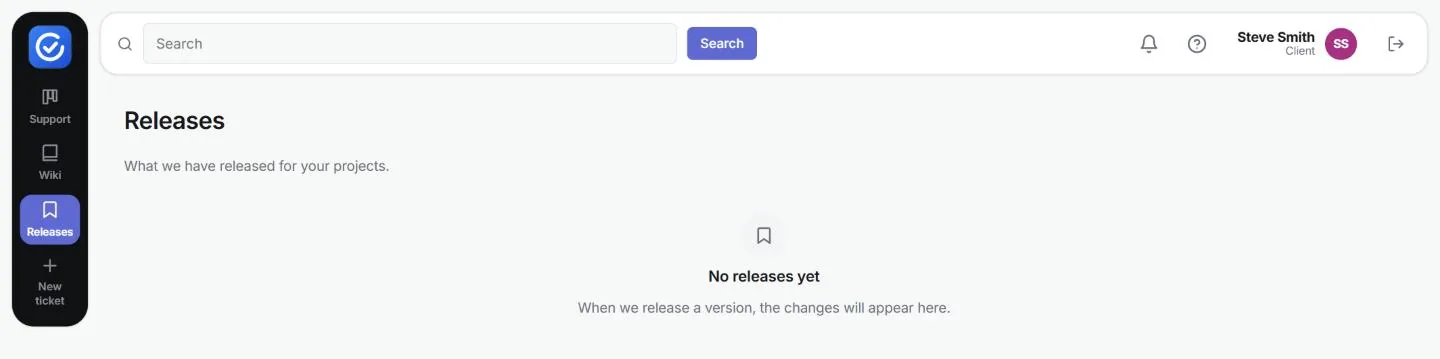
Click Releases to see what has been delivered. When your provider releases a version, its notes are listed here. Until then, the page shows No releases yet.
Your profile
Click your name in the top right. The portal profile has three tabs:
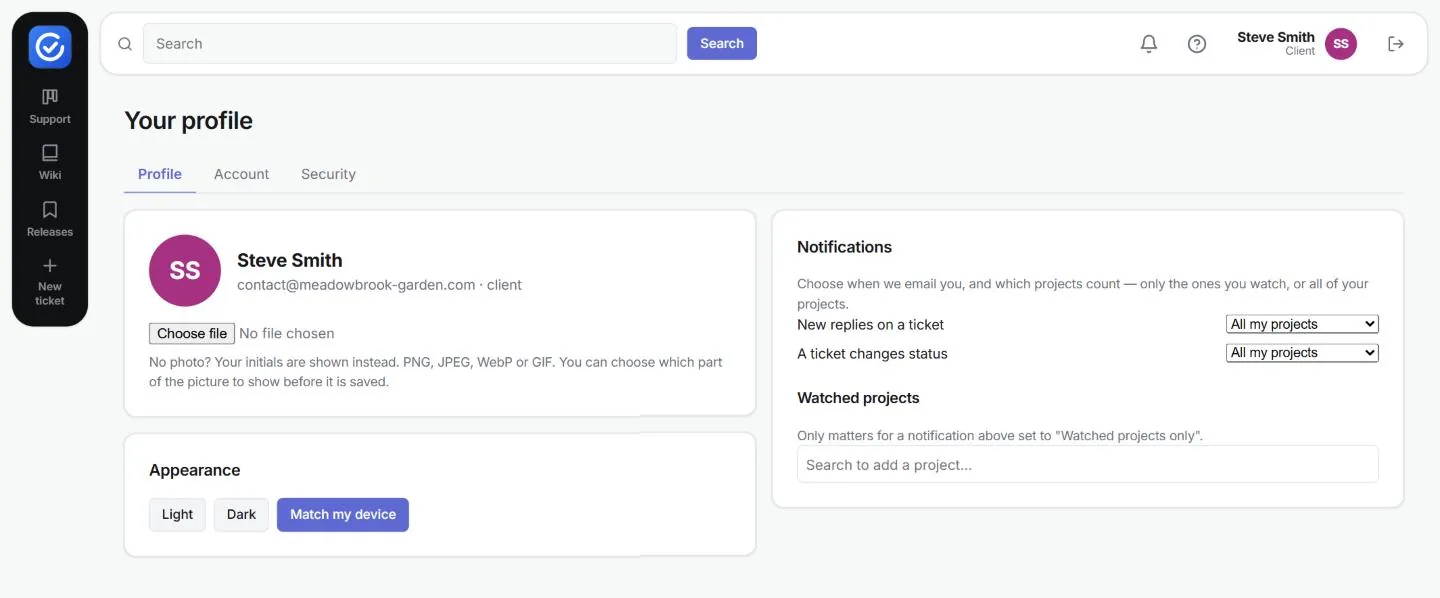
- Profile: upload a photo, choose Light, Dark or Match my device, and choose your Notifications. For New replies on a ticket and A ticket changes status, choose All my projects, Watched projects only or Don’t email me. Use Watched projects to pick the projects that count.
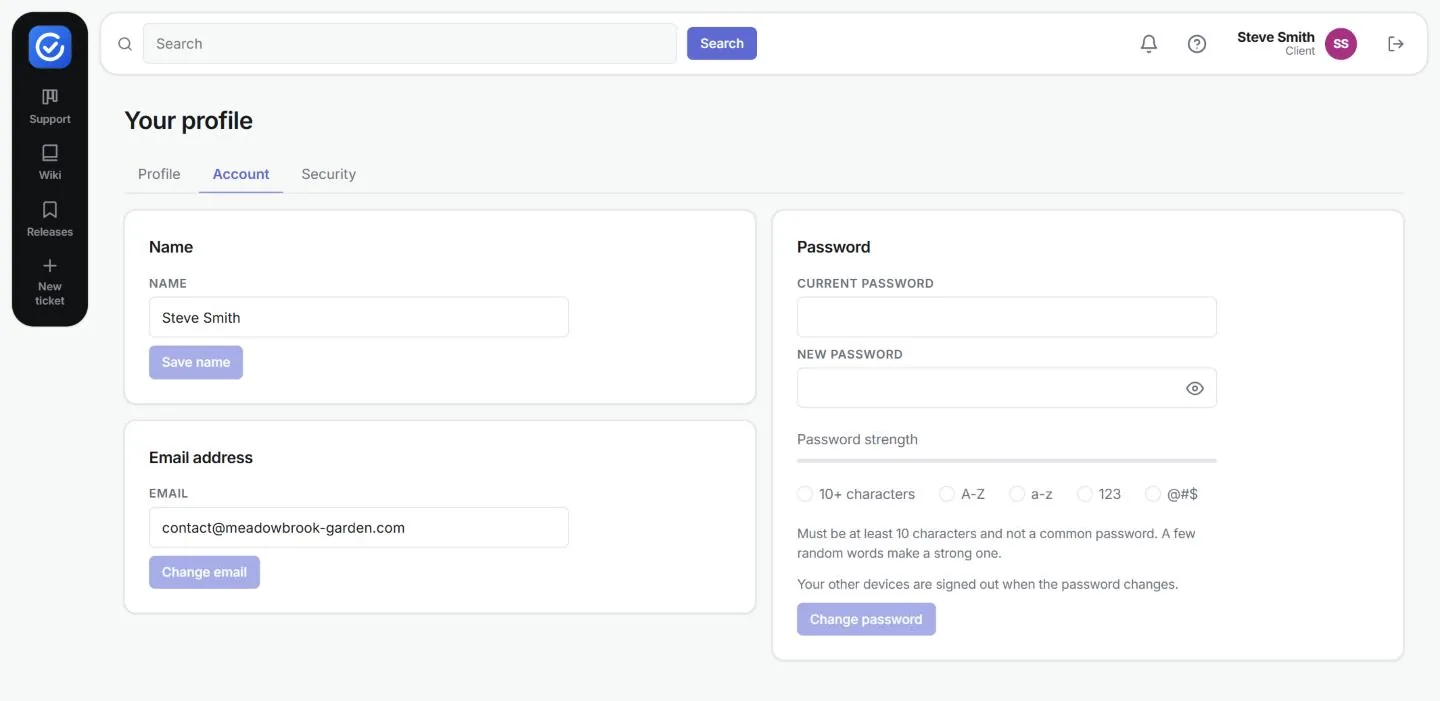
- Account: change your name, email address or password. Passwords must be at least 10 characters and not a common password. Changing your password signs out your other devices.
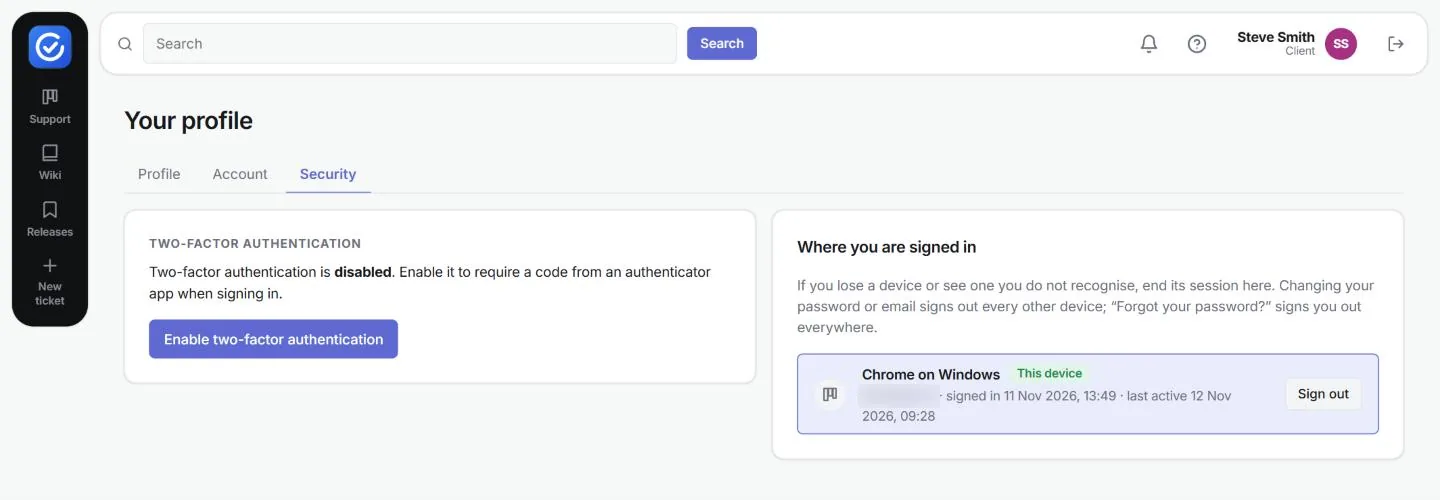
- Security: turn on two-factor authentication, and see or sign out your active sessions.